Deprecation Warning: Setting the TLS ServerName to an IP address is not permitted by RFC 6066
If you use an IP address instead of a ServerName in the SQL Server database connection properties, you may see the following warning/error.
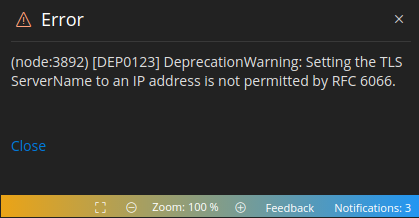
DeprecationWarning: Setting the TLS ServerName to an IP address is not permitted by RFC 6066.
To create a working connection, it is necessary to specify the ServerName.
And in case the ServerName cannot be used, you can try (for testing purposes) a workaround.
This can be done by simply editing the hosts file.
What is a hosts file?
A hosts file is a plain-text file that maps domain names to IP addresses.
What modifications are necessary?
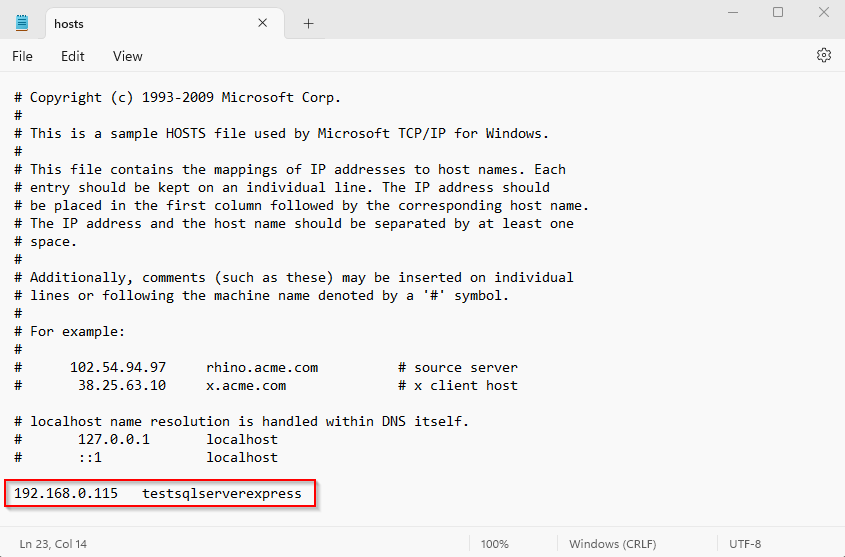
Let's say you want to connect to 192.168.0.115, which is the IP address of the machine running your SQL Server Express. Simply type the following simple mapping into the hosts file:
192.168.0.115 testsqlserverexpress
In this way, we assign a name to the IP address that we will later use when creating a database connection.
How to modify the hosts file?
The following sections describe step-by-step instructions for Windows, Linux or macOS.
Note: Before you edit your hosts file, it is strongly recommended that you make a backup copy of it.
Windows 11
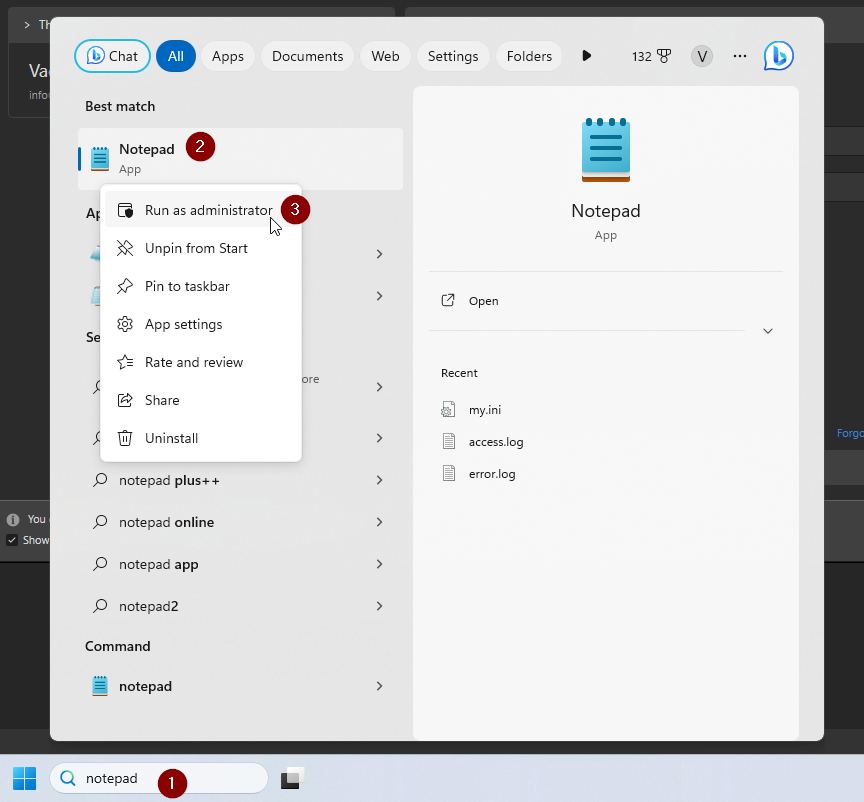
- Type Notepad into the search box in the main taskbar.
- In the results, right-click Notepad and select Run as administrator.
- Open a file from the following location:
c:\Windows\System32\Drivers\etc\hosts - Write the mapping to the file
- Save your changes by clicking File -> Save
macOS
- Start Terminal
- Type the following command to open the hosts file in a text editor
sudo nano /private/etc/hosts- Enter your password
- Add your new mappings after the default mappings.
- To save your changes, press Control+X and when asked if you want to overwrite your changes, press Y.
Linux
- Start Terminal
- Type the following command to open the hosts file in a text editor
sudo nano /etc/hosts- Enter your password
- Add your new mappings after the default mappings.
- To save your changes, press Control+X and when asked if you want to overwrite your changes, press Y.
Note: to apply the changes, you may need to flush the DNS cache.
Creating a working database connection in Luna Modeler
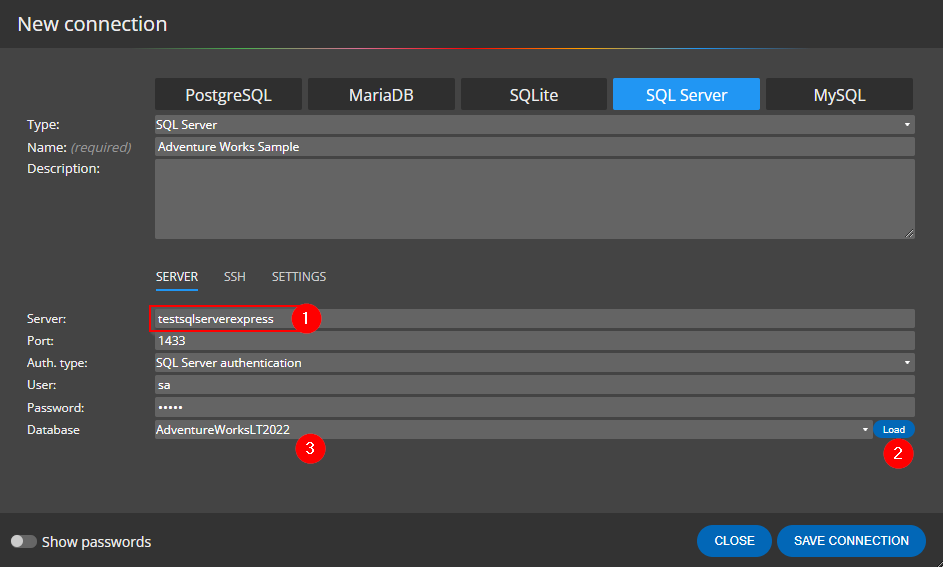
You can now create a new connection for SQL Server and use the name specified in the hosts file.
When you click the Load button, Luna Modeler connects to the SQL Server and loads a list of databases from which you can select the one you want to visualize.
After loading the database, the result can look like this:
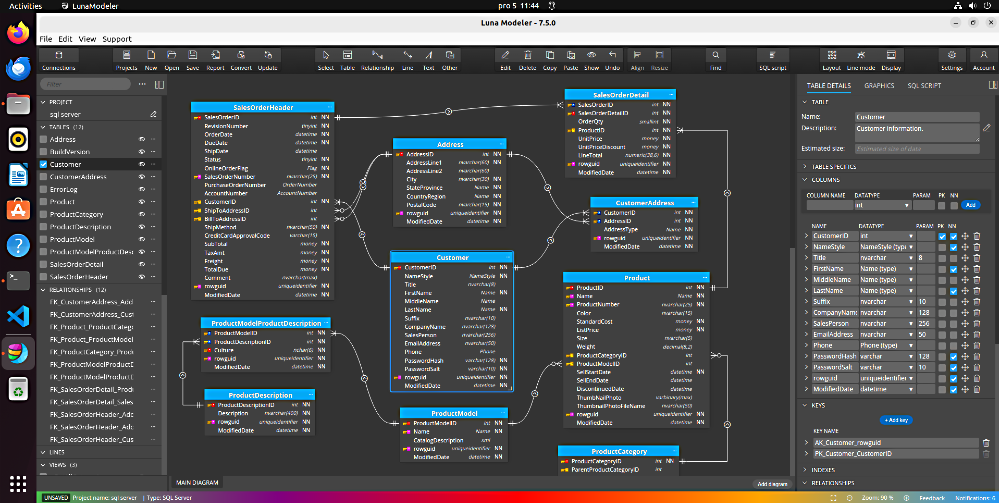
For more information see article Visualization of SQL Server databases.
Conclusion
In this article, we've shown you how to edit the hosts file on Windows, Linux, and macOS and how to use the mapped name for establishing a new connection to your SQL Server database. Please note that we recommend following the instructions in your test environment, not in the production environment.
Enjoy database modeling with Luna Modeler - the database modeling tool for SQL Server
#
