Looking for a an easy way to work with a MySQL database?
In this article, we’ll describe how to:
- Set up MySQL database using Docker Desktop
- Create a data model for your database in Luna Modeler
- Generate SQL scripts from your data model
- Run the scripts in VS Code with the MySQL Extension
- Compare and synchronize your data model with the database
How to Run MySQL in Docker
and Create Your Database Visually
In the next section, we’ll show you how to set up a MySQL database using Docker Desktop. Then, you’ll learn how to work with your database using visual tools.
Step 1: Install Docker Desktop
To start, download and install Docker Desktop for your system – Windows, macOS, or Linux.
Once installed, open it.
Step 2: Find the mySQL Image and Run a Container
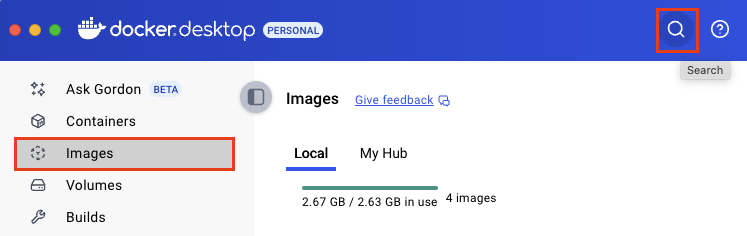
Navigate to the Images tab and click the Search icon.
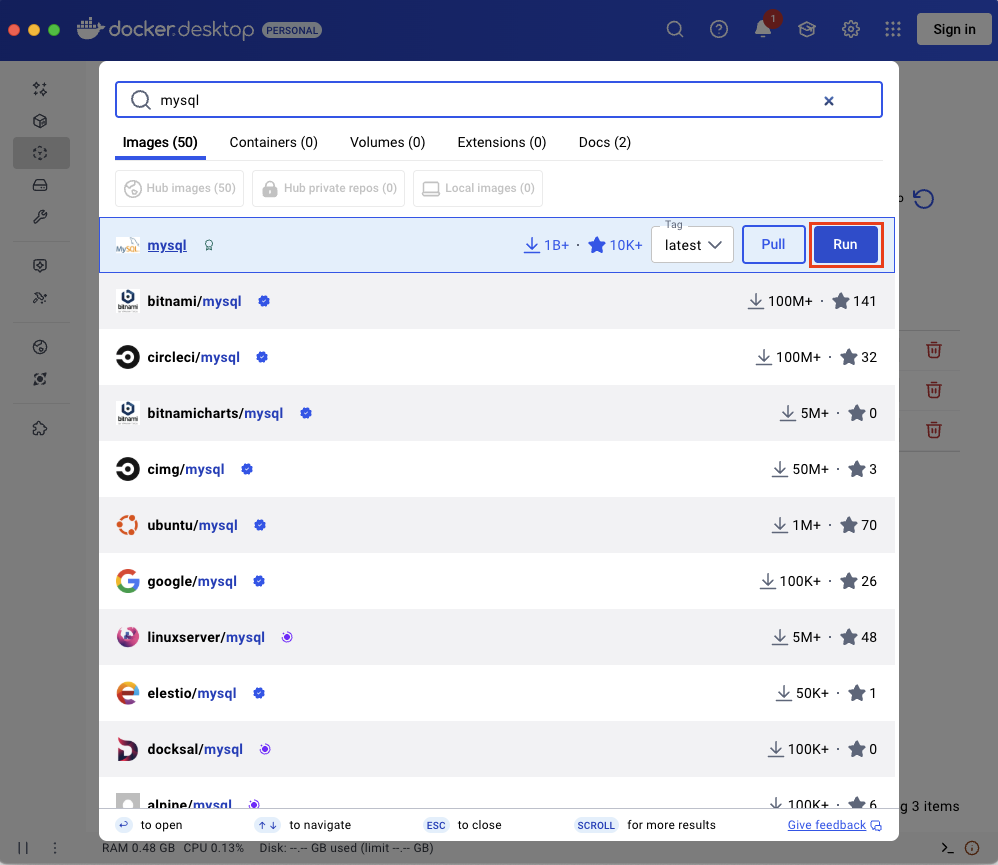
Search for “mysql” and click the Run button.
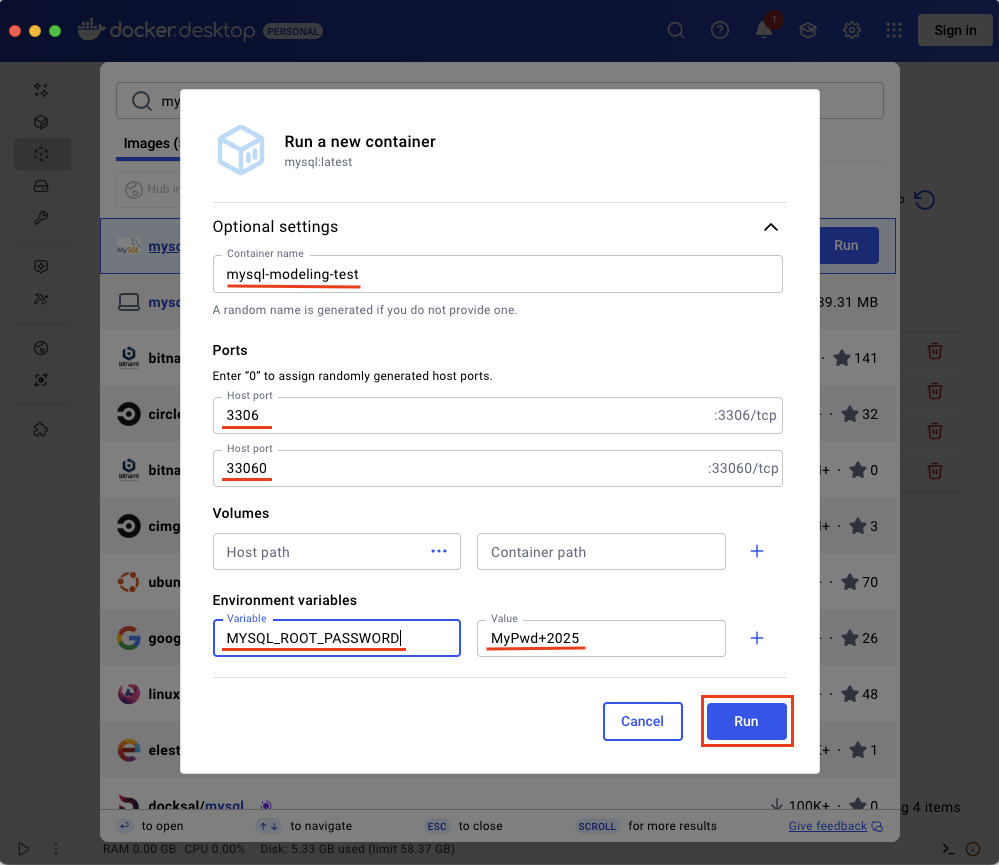
A new form opens. Define the Container name, Host ports (the default for MySQL are 3306 and for newer versions also 33060). Add a new environment variable MYSQL_ROOT_PASSWORD and type in the Value (this will be the password for the root user to the MySQL database). Then click Run.
If you look in the Containers section, you should see the running container.
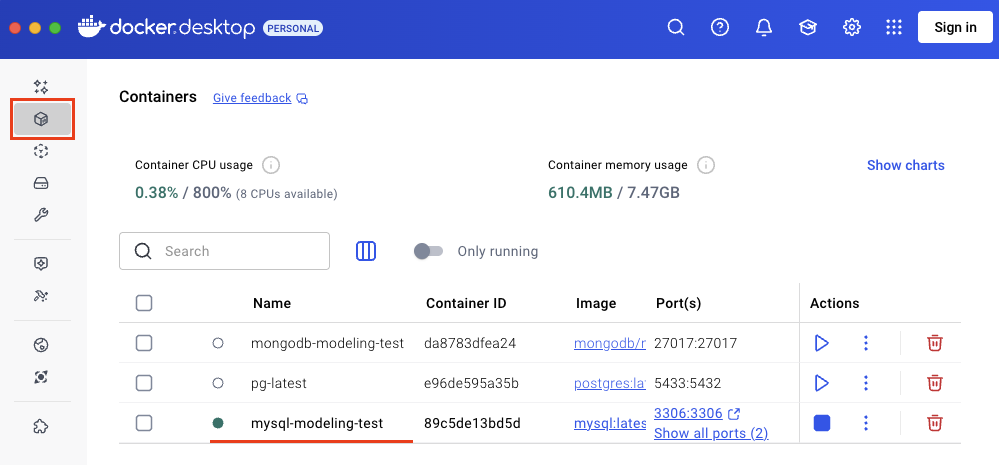
The database is now up and running. Let’s proceed with the creation of a data model.
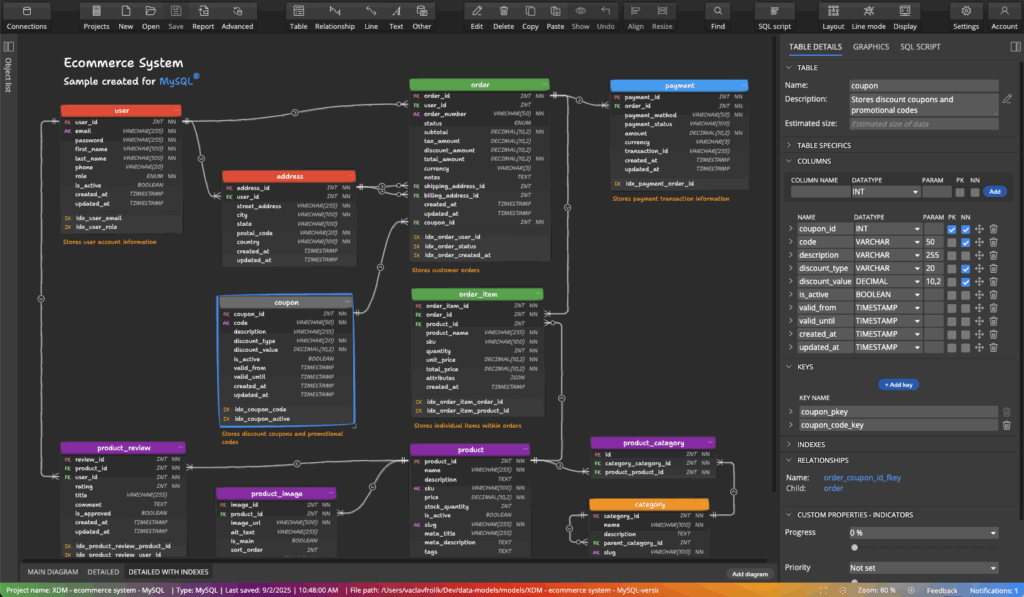
Step 3: Create your data model
Download and install Luna Modeler.
Create a new MySQL project and start designing your database structure visually: add tables, define columns, relationships, add notes and subject areas, and more. It is possible to model all aspects of the system without connecting to a database at this time.
Step 4: Generate SQL Script from Your Data Model
Once your data model is ready: Just click the SQL Script button. Take a look at the auto-generated SQL script and save it to your computer or copy it to the clipboard.

Step 5: Run the SQL Script in VS Code
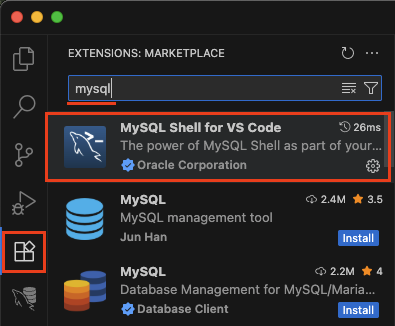
Install and launch VS Code, then add the MySQL Shell for VS Code extension to it.
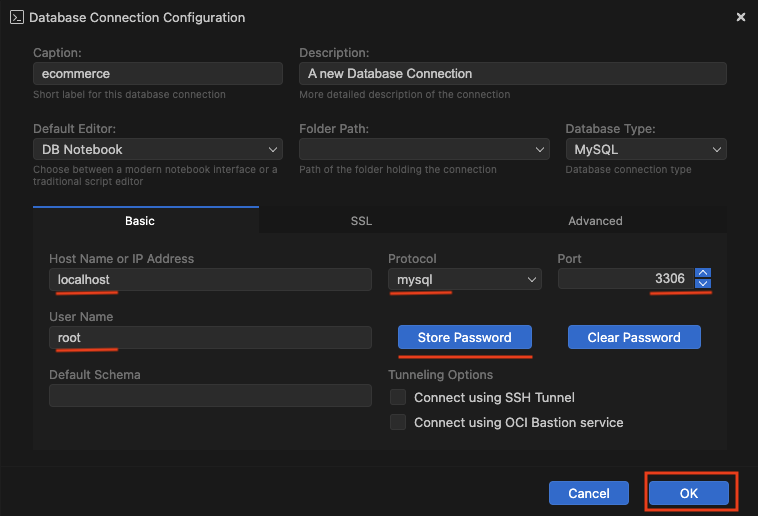
Click on the newly added icon on the left. Then click on New Connection in the MySQL Shell tab.

Specify connection properties.
After successfully connecting to the database, enter a command in DB Notebook to create a new database. In our case, it will be the ecommerce database. Also enter a script to use the database as the default. SQL:
CREATE DATABASE ecommerce;
USE ecommerce;
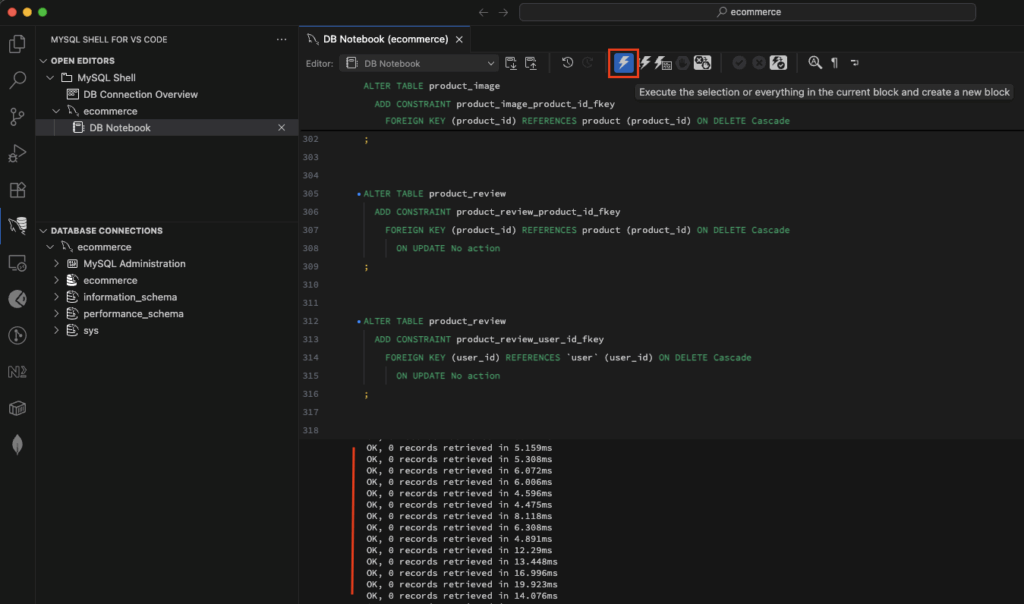
Run these commands and then insert or paste the SQL script generated from Luna Modeler.
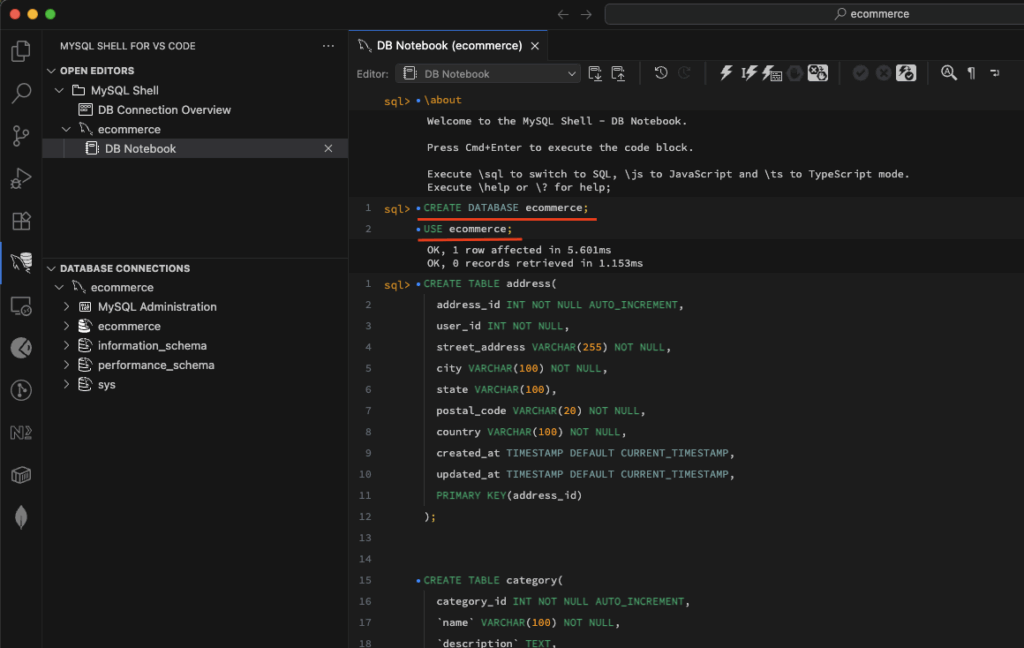
Result of the executed SQL script:
Step 6: Make Changes to Your Data Model
Your system is going to keep evolving! And in the early stages of development, changes are not just expected – they’re essential! That’s why it’s so helpful to go back to Luna Modeler regularly to adjust your model: add new tables, modify columns, change data types, define relationships, or update constraints.
Tip: You can establish a connection to the database and update your data model in Luna Modeler. This will add the default settings like collation and others to the data model.
Step 7: Generate Sync Script
In Luna Modeler, click the Advanced button and choose the Generate Synchronization SQL item.
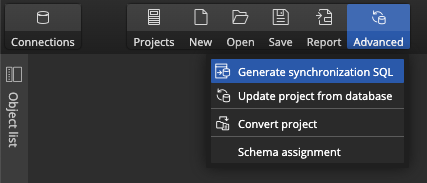
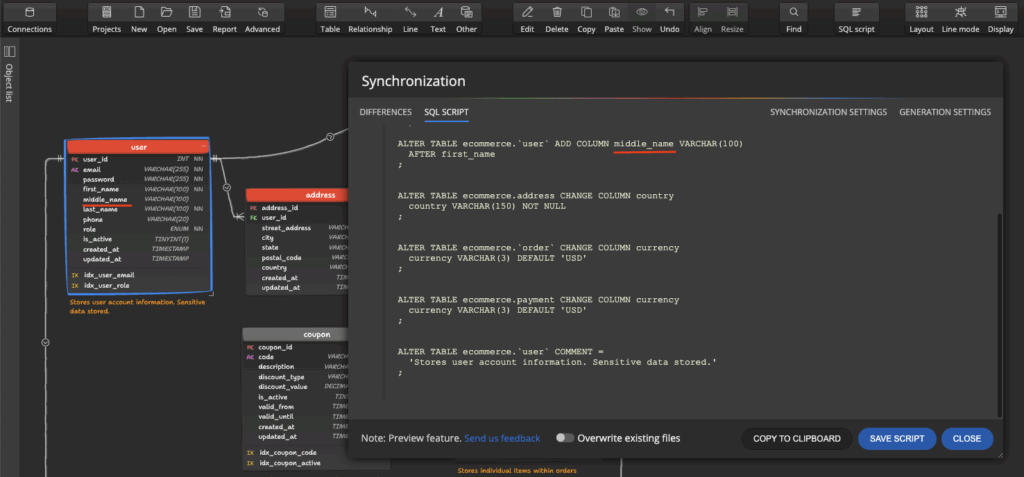
Compare the data model to the database and generate SQL Script for the detected differences.
Step 8: Run the generated Synchronization SQL script in VS Code
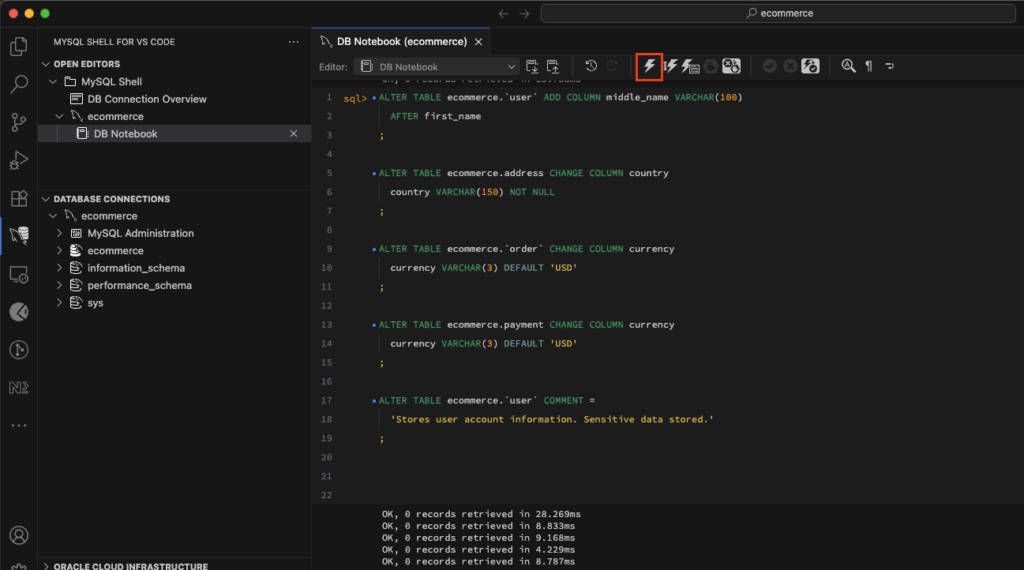
Paste the generated code to VS Code and execute the synchronization scripts.
Key Benefits of This Visual Workflow
- Work offline on your model – Design first, deploy when ready
- Reliable and repeatable SQL generation – Generate and run SQL only when your model is complete
- Easy model-to-database synchronization – Quickly update your live database with visual changes
Get Started – Try Luna Modeler
#
